Installing the SteppIR 3el Antenna
Another day dawned beautifully here in Atlanta. It's 48 degrees (high of 61 expected) and a clear blue sky. A little windy, but I'm sure Dave won't mind!
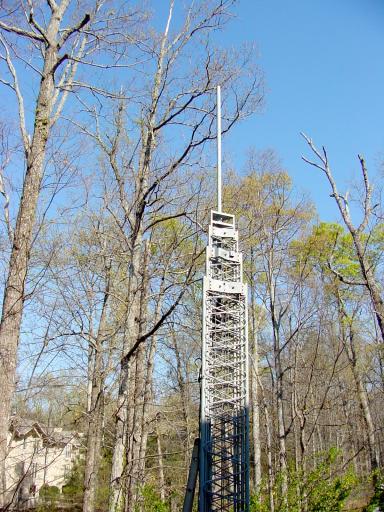
The tower has been cranked down, fully nested and a 20' extension ladder propped against it. Bill N4NX and Bill WB4WMG are expected to return this morning and Dave K4SSU (da man!) should all be here by 10a.
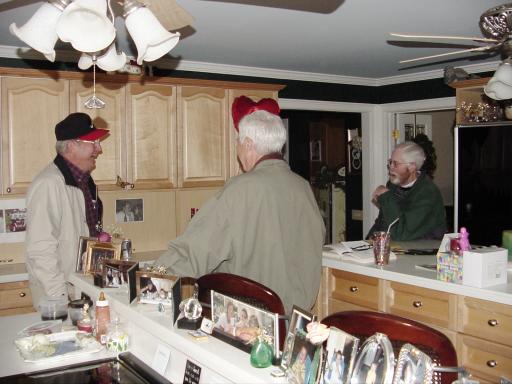
You're probably tired of hearing me speak of Dave K4SSU; here he is on the left of (the back of the head of) Bill N4NX and Bill WB4WMG this morning:
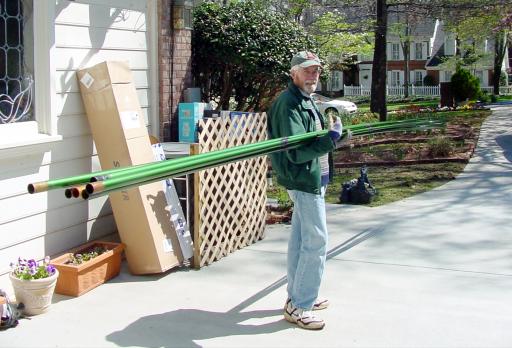
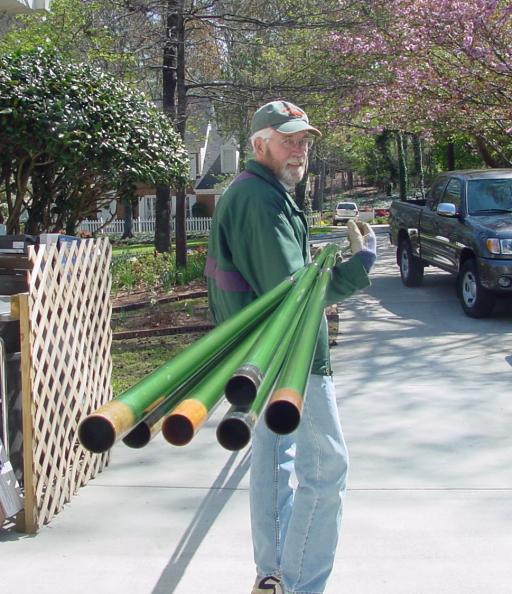
Here's Bill with all six of the ESTs (element support tubes) on the way to the back yard:
.. and Bill and Dave carrying the completed boom:
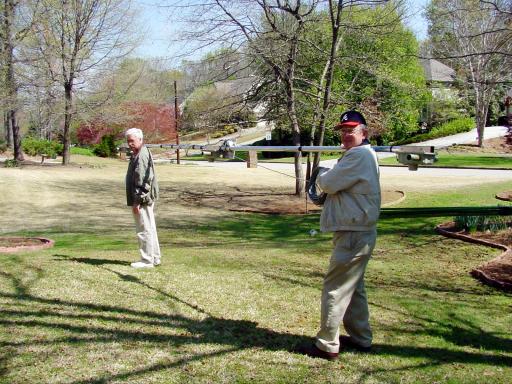
What am I carrying? Why the camera, of course (snicker..)
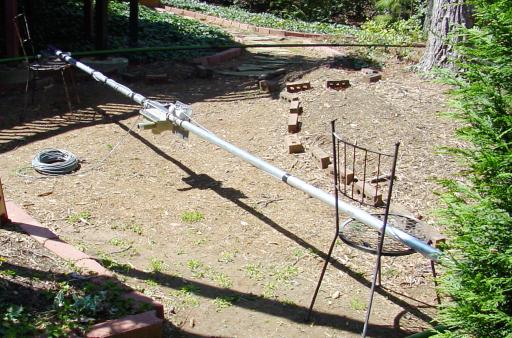
The boom ready to receive the ESTs:
NOTE: This update to this page was made a year or two later. When I got my SteppIR, there was no "test" mode in the controller as there is now. Now is a good time to run the test on all the elements to see if there are any mechanical or wiring problems. Absolutely do NOT skip this step; troubleshooting is so much easier with the antenna on the ground!
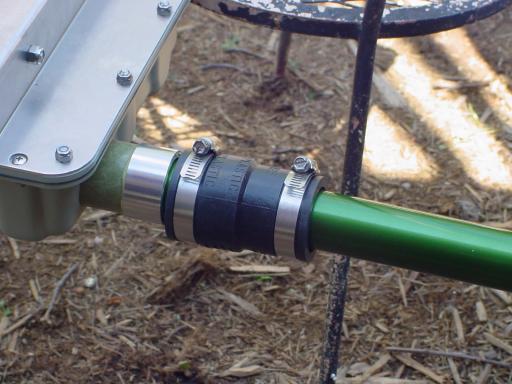
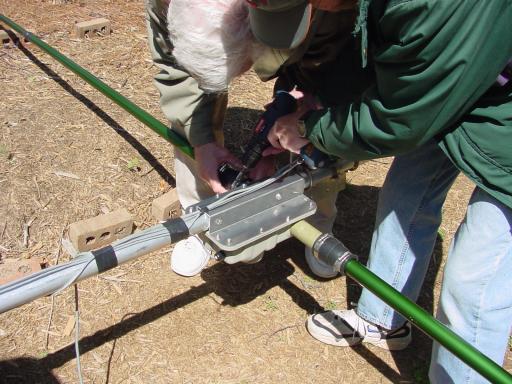
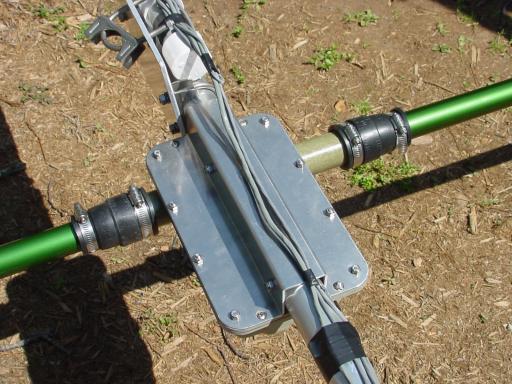
There's a stepped rubber connector with hose clamps that connect each EST to the EHU (Element Housing Unit). You insert the EST into the EHU as far as it will go and attach it with the cable clamps and rubber connectors. A power screwdriver with a 3/8" hex driver came in very handy here as there are twelve cable clamps to tighten down:
NOTE: Because the clamps are clamping rubber, you should set them snugly, wait an hour, retighten. Repeat as necessary; they'll be hard to get at when in the air!
While the pair o' Bills assembled the ESTs to the EHUs..
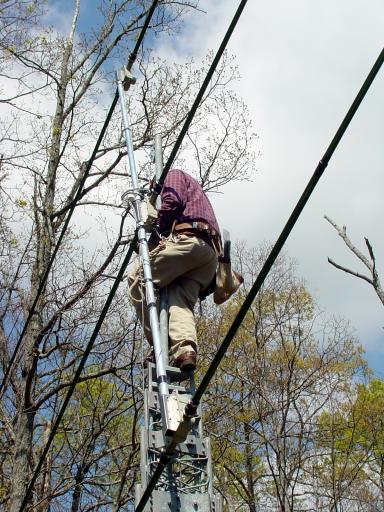
..Dave climbed the ladder and then the rest of the tower (nested to its minimum height of only 23 feet) and secured the ladder to the tower..
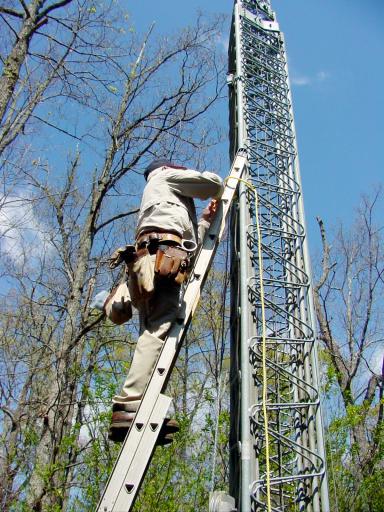
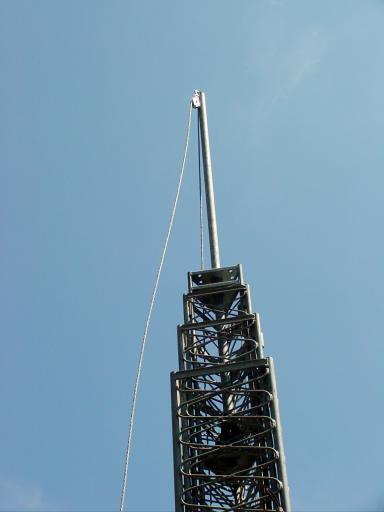
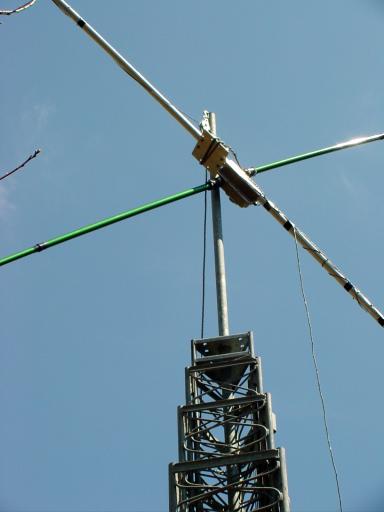
..and then climbed to the top and hooked a pulley to the top of the mast with a line we'll use to hoist the antenna into place:
Then it was just a matter of pulling on the line and managing the elements around the various inevitible obstructions and up she went:
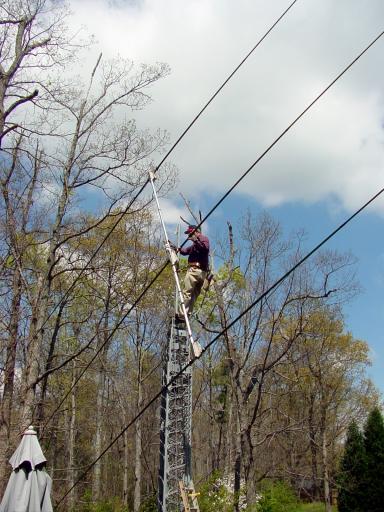
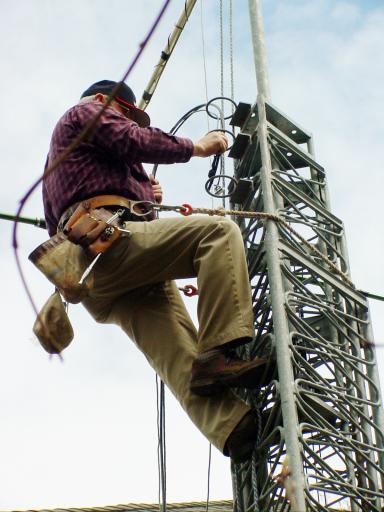
Then Dave scampered up to the top of the tower..
.. to manhandle the antenna into position..
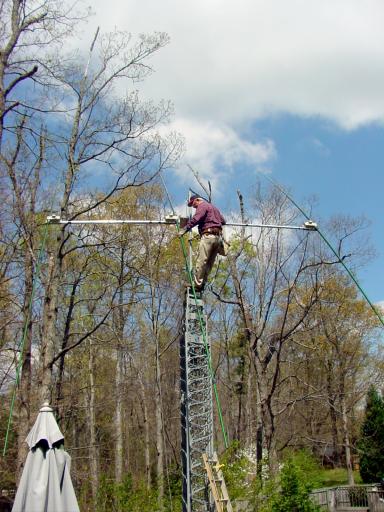
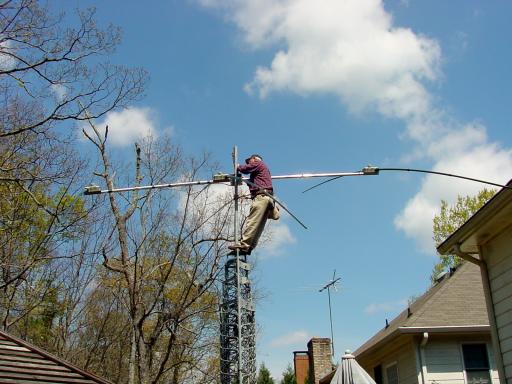


Talk about anal-retentive. That's a level Dave's using up there:
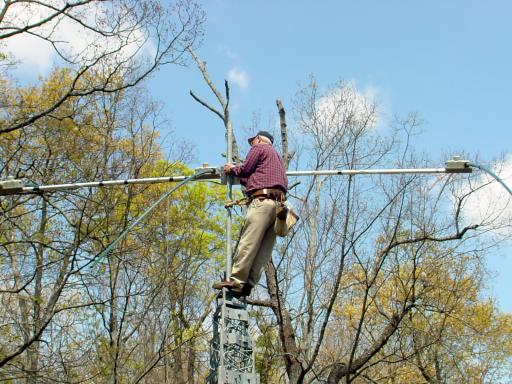
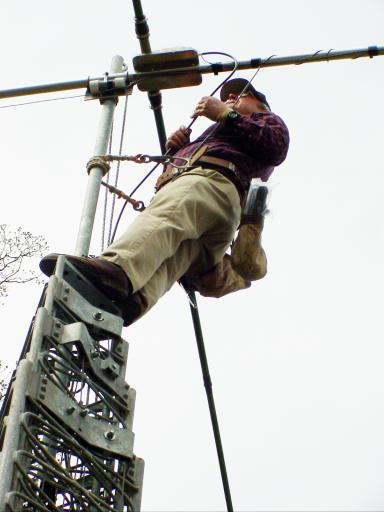
While Bill (again) perused the instructions (we just can't break him of that)..

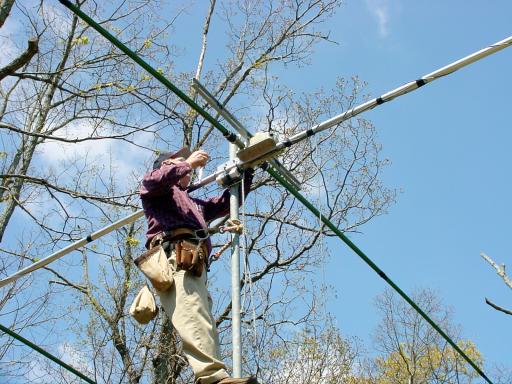
..Dave finished the attachment of the antenna to the mast and climbed down for lunch:
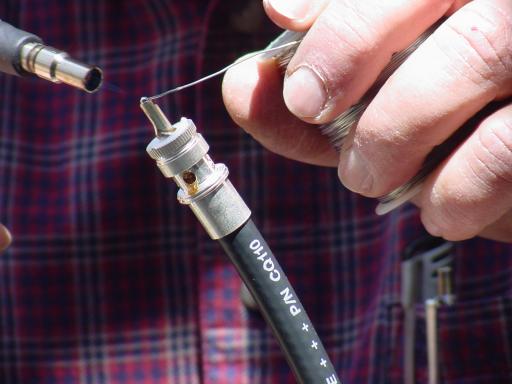
Ah, but before springing for lunch I persuaded Dave to demonstrate his unique and sure-fire method of installing PL-259s:
First he uses flux on the about-to-be soldered points, then a conventional low power soldering iron:
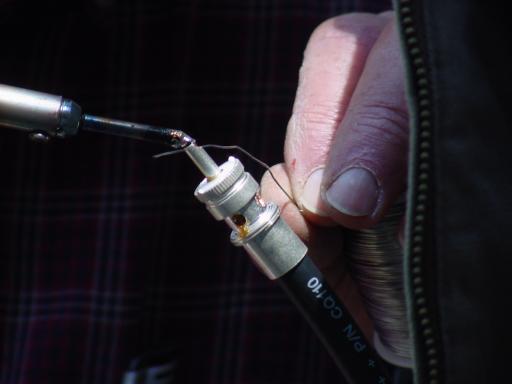
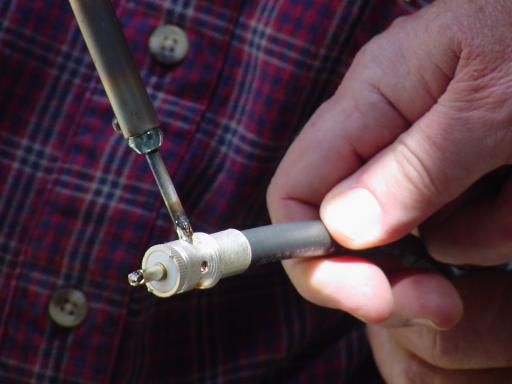
..and then finishing with a butane soldering torch:
Same technique for the braid:
LUNCH!
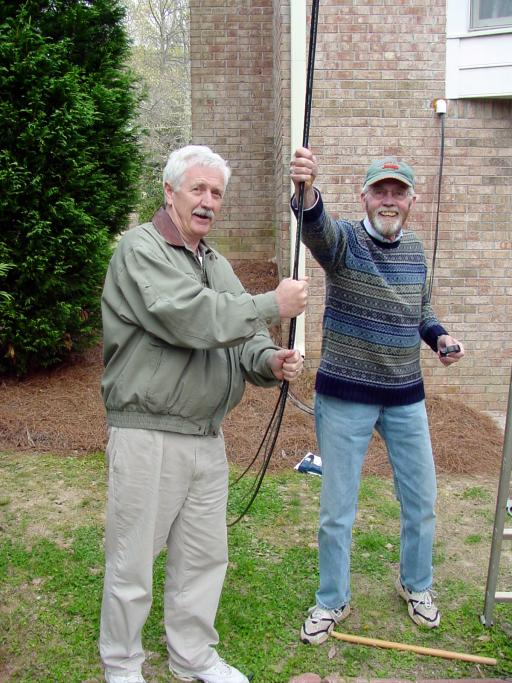
Back from lunch, Bill laid out the three cables we had to deal with. The SteppIR control cable was (of course) already attached at the boom so we laid out the coax and rotor control cable. We had 150' of each (which I knew would be too much, but...)
Dave went back up the tower to route the three cables through the cable guides attached to the top of each tower section:
NOTE: Be sure to leave the proper length of coax and SteppIR control cable (with a drip loop) so your rotor can go to the ends of its rotation. My Yaesu 800-DXA rotates MORE than 360 degrees -- take that into consideration if you have one that does that:
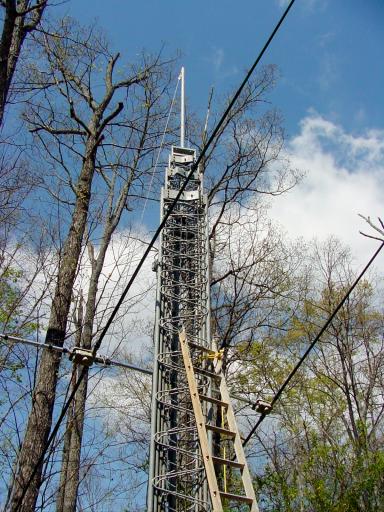
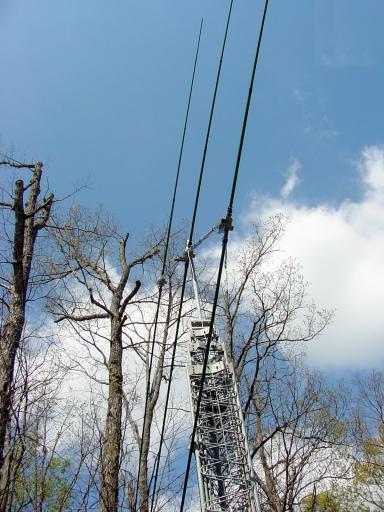
Finally, Dave climbed down and I (pushed a button and) raised the antenna all the way up:
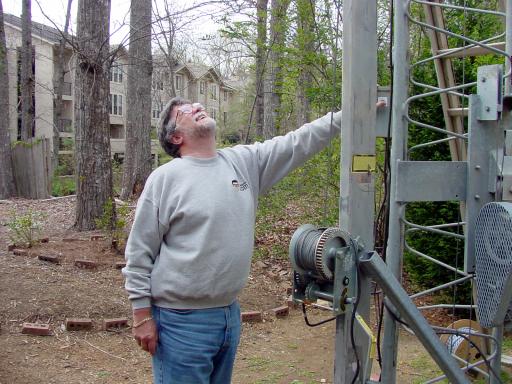
It turned out that we had to rotate it to 100 degrees to clear a couple of errant branches but it went up in the clear after that:

As it was going up, we stopped every six feet so Bill and Bill could tape the three cables so they'd stay together:
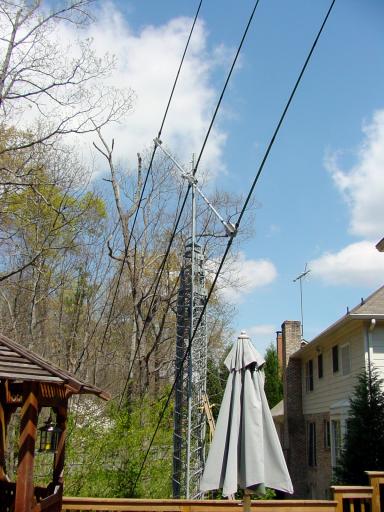
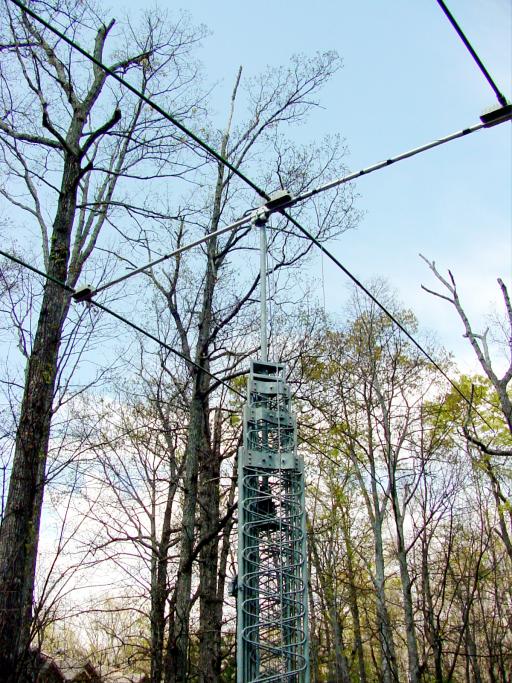
And -- it's UP!

The SteppIR folks had thoughtfully terminated their control cable in a DB25 male connector to mate with their control box. That's the good news. The bad news is that this made it tough to route through the 2" PVC tubing I'd had installed outside from near the tower, through the floor joists in the basement ceiling and into the utility room behind the shack.
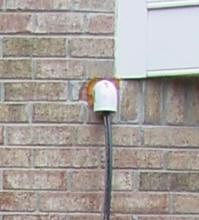
I removed the DB25 shell and taped the connector (now smaller), the unfinished end of the coax and the Molex connector already on the rotor cable together and we pushed the so-bundled cables through the PVC into the shack.
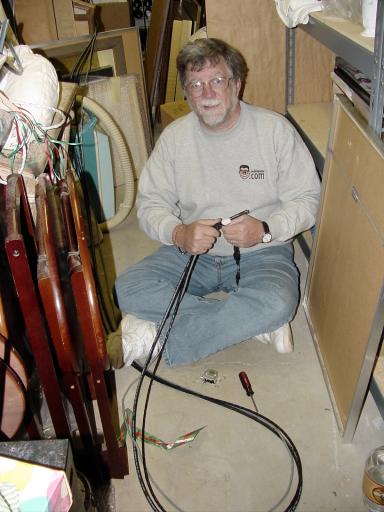
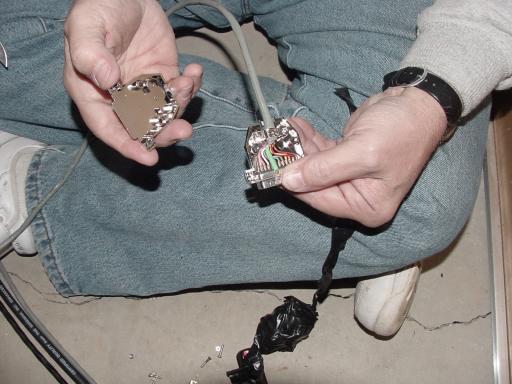
Once it was through, and with the tower at its maximum height I could reassemble the SteppIR controller DB25 connector shell:
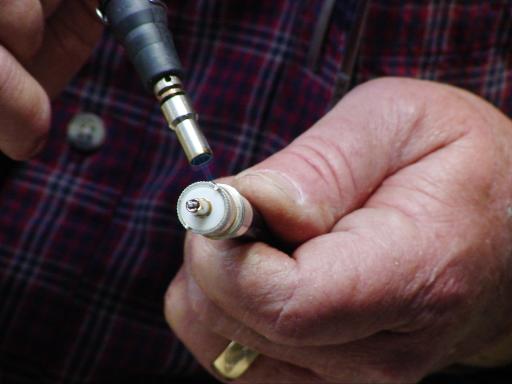
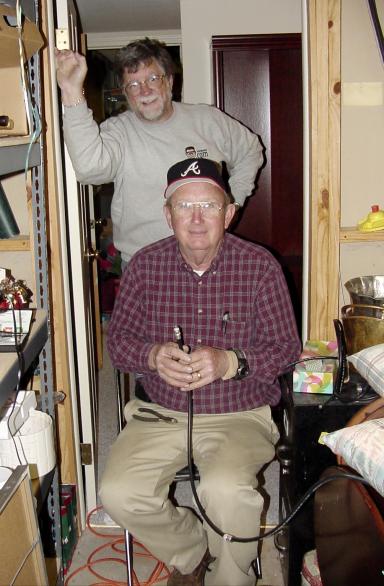
Of course, Dave had to "demonstrate" his PL-259 soldering technique one more time. I paid close attention:
Click HERE for the next part of the story or HERE to return to the top...
|