Installing the SteppIR 3el Antenna
Installing the rotor and mast
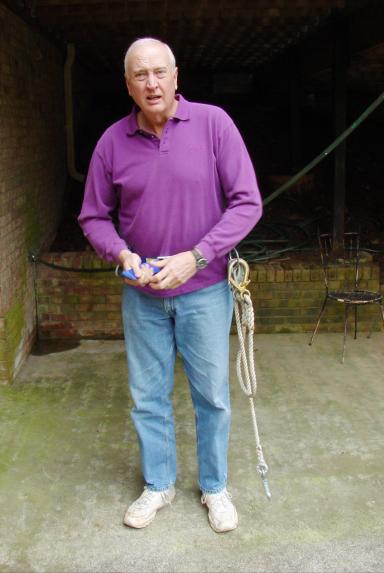
Today (March 18, 2004) Bob K4UEE came over (not looking all that happy to be here as he views the tower for the first time):
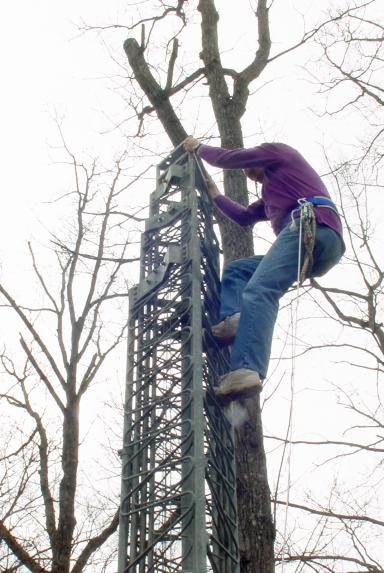
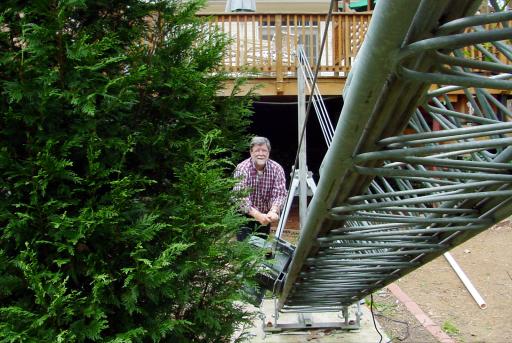
.. to "help" me install the new rotor into the tower. The way the US Tower works, when fully nested to 23', you can't get at the rotor shelf. Using the motor drive I raised the tower until the rotor shelf was exposed giving about a 26' climb. Unfortunately, nested like that, it's hard to climb. Since the first step was to pull the mast out, we lowered the tower all the way and up Bob went. After getting up there:
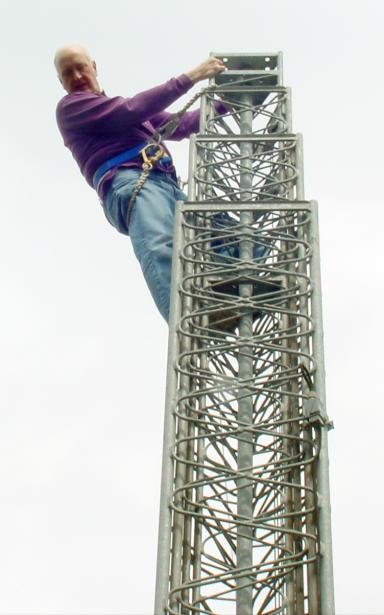
.. Bob decided that we should do the rotor installation with the tower tilted over.
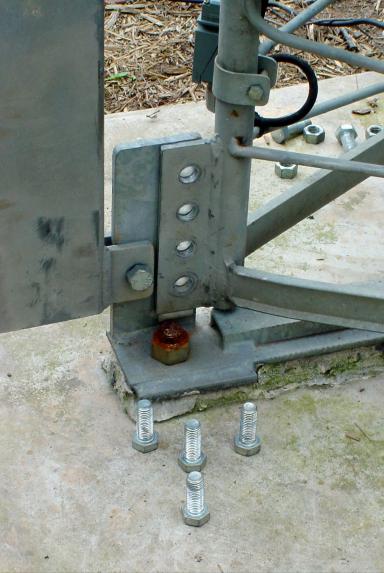
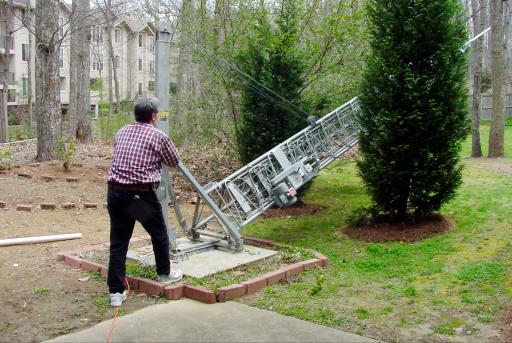
The tower hadn't been tilted since it was installed in December, 1998, but what the heck; I'd left the erection device attached. We pulled the ten 1" bolts securing it to the base

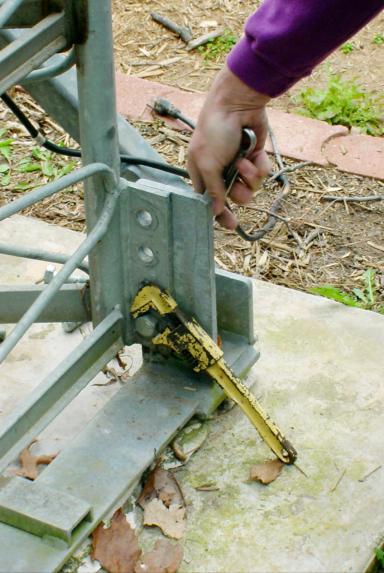
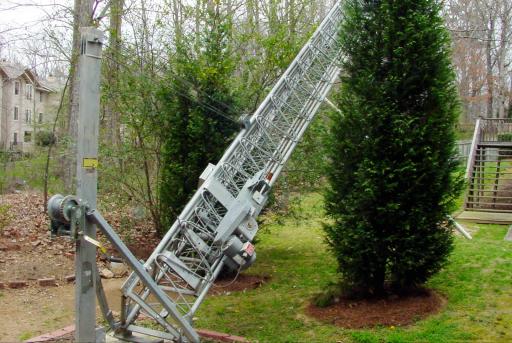
.. and winched that big boy over into my neighbor's yard (no one home, thank goodness!). Notice how I had cleverly planted the trees leaving the space between them for the tower. Sometimes things just work out.. Bob is obscured in this picture as he stands behind the right-hand tree and uses a length of PVC tubing to push the branches of the neighbors bush out of the path of the descending monolith:
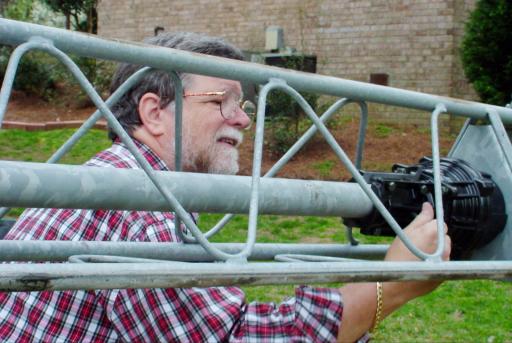
That made it easy to slide out the 8' mast, install the rotor,
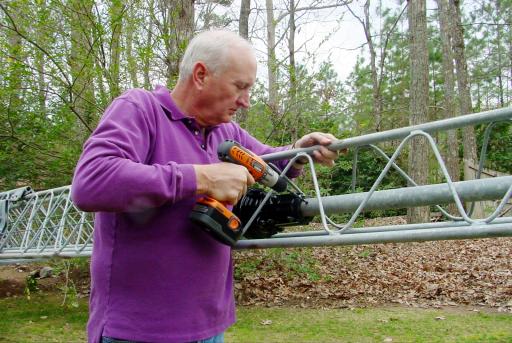
.. put the mast back into place (it's now a 5' mast above the top of the tower), add the anti-twist bolt through the rotor housing and the mast,
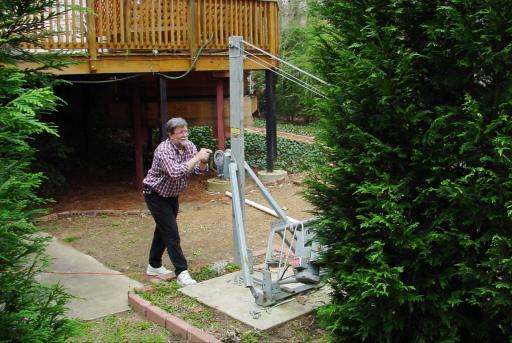
.. and crank the whole thing back up vertical again:
The winch is great but its mechanical advantage is such that it takes about 500 revolutions to make a 90 degree movement. Whew!
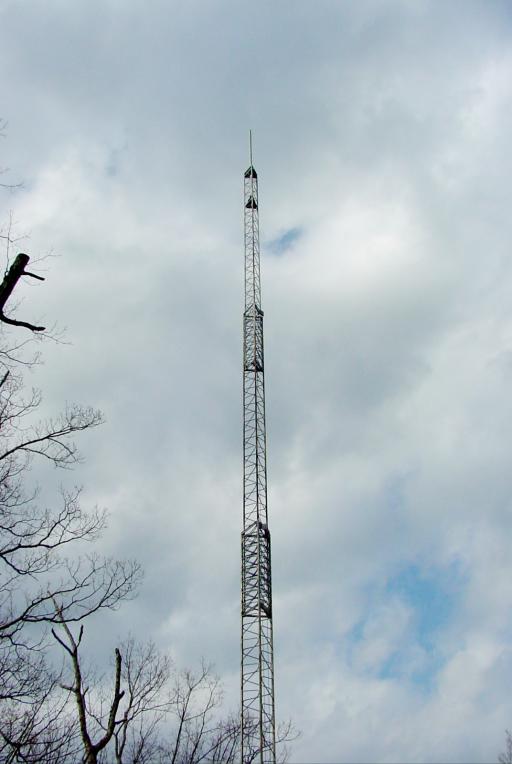
Looks like we're in the clear and ready for the antenna:
Bob talked me out of attaching and routing the rotor cable reasoning that Dave would have to run the coax and SetppIR control cables anyway so what's one more. I didn't do a good job of pointing out that the rotor cable routing would have to be different since it actually goes "up" to come out over the top of the next nesting section. Oh, well.
Having only had experience with the Ham-M (where you attach the eight control wires to a screw terminal block on the bottom of the rotor) I was gratified to see that Yaesu uses a socket in the rotor housing with a securely soldered and weatherproofed connector. That will also make it easier for Dave to just plug it in on antenna-installation-day. Wonder when that will be...
Click HERE for the next part of the story or HERE to return to the top...
|