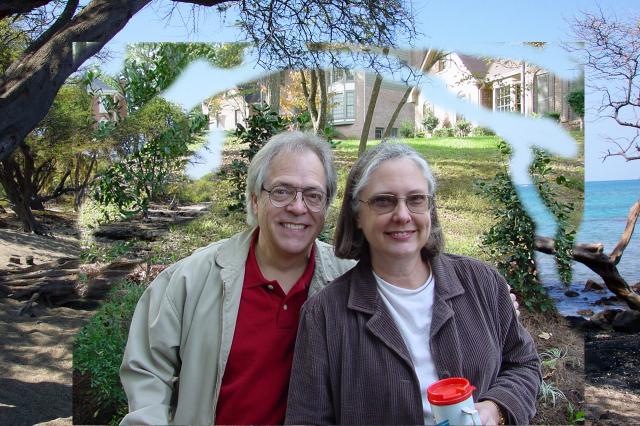
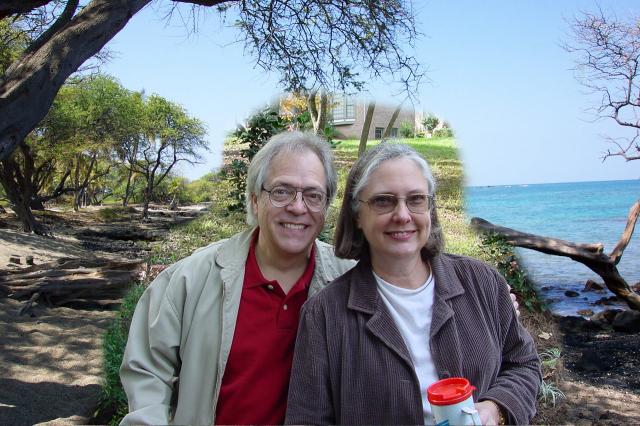
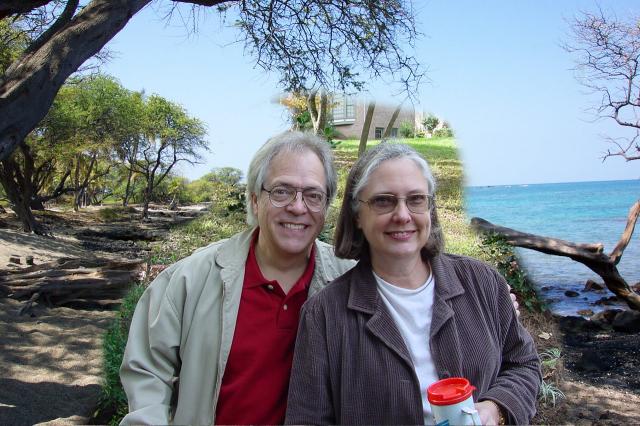
Here, for example, are three photos:
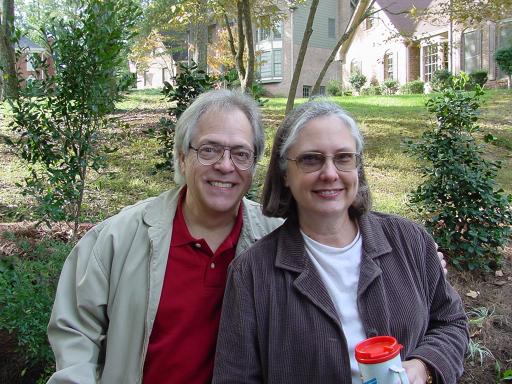
Here are friends Dwayne and Brenda in my driveway in October
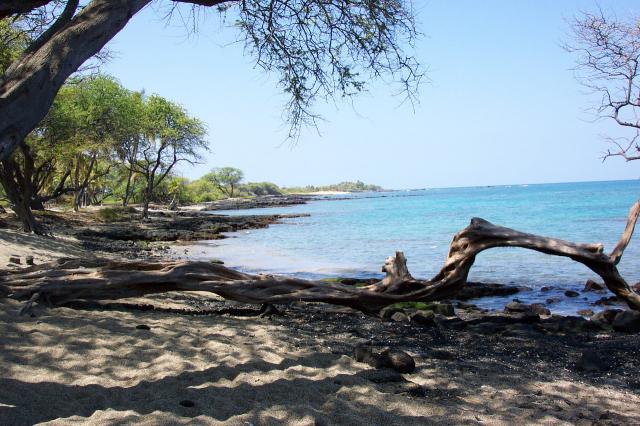
Here's a lovely shot of a beach in Hawaii
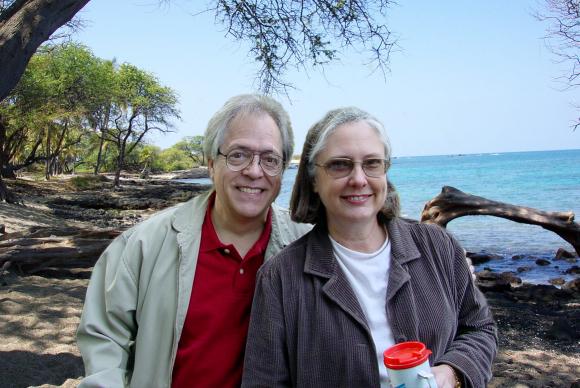
Here are Dwayne and Brenda in Hawaii (ok, so they're a bit overdressed..)
- Open an image with the background you want. Wherever I go I try to take some interesting shots to be used (someday) for backgrounds. And I shamelessly steal images friends send me for this purpose. Be sure the background image you choose is as large as you can take (highest resolution). It needs to be at least as big or bigger than the image you plan to place on top of it; this gives you cropping opportunities.
- In PaintShopPro, create a new raster layer. Click Layers/New Raster Layer.
- Open the image you plan to use on top of the new background. [Ctrl-C] to copy it and [Ctrl-E] to paste it into the new raster layer you created in the previous step. In this example you can see the extra part of the background around the pasted image.
- Save a working copy of the "stacked" image in PSPs .psp format. As a general rule NEVER edit the original image; that way, if you mess up you can start over again!
- Making sure your foreground layer is the one selected, choose the Eraser brush and set its properties to about 48 pixels, round brush shape. Use the Eraser brush to erase background elements of the top picture; PSP replaces the erased pixels with pixels from the background:
You can choose whatever brush size you want to make easy work of the gross erasure. Which size you choose depends on how big your image is that you're working with. This is the easy part; you can do this in less than a minute. You'll end up with:
To see how you've done, choose Layers/view current only and you'll see your foreground image with most of the background erased:

Now use Layers/View All to put it back like this:
- Now comes the hard part -- it's not "hard" at all but it does take time to get good results. Choose a smaller brush size (like 24) and blow up the image so it's easy to see the stuff you want from the stuff you don't. Then use the brush to carefully remove the rest of the undesired background. Look at the left side of Dwayne's head (below) to see the effect of the technique. With practice, you'll know exactly how to remove background without affecting your main subject:
Be sure not to use too small a brush. The built-in anti-aliasing feature of the Eraser brush lets you get the results you want without getting too close to the edges of your foreground image.
TIP: If you find you accidentally were too agressive in this step and erased some of your foreground image, don't worry. All you have to do is hold down the right mouse button and use the Eraser brush to put back the original image!
Well, that's it. After a while (and by judicious choice of brush size for tight areas, you'll get something like this:
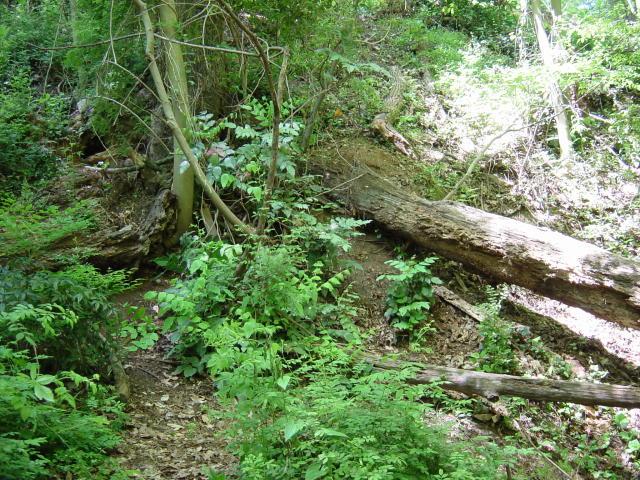
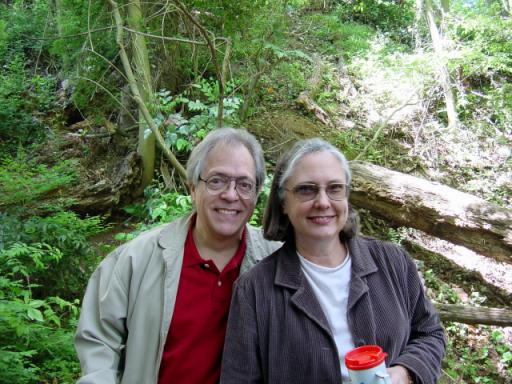
Oh, and one more thing. Suppose when you're done you don't like the background with the subject foreground. Do you have to do all the work again? Nope. Here's a different background:
We'll bring up the .psp version of the combined image from before:
..and choose Layer/view/Current only to see just the foreground image:

Use [Ctrl-C] to copy the foreground image, switch to the background and [Ctrl-E] to paste it in. And there, with virtually zero additional effort, are Dwayne and Brenda in the forest:
Enjoy!
Chaz