After looking at and listening to every after-market exhaust system for the C5, I decided on the Corsa Touring system. Exhaust systems are very subjective. The thing that made me choose Jim Browning's Corsa was the terrific reputation for customer service that Corsa Performance has earned.
I've yet to hear a negative opinion about Corsa Performance -- that's good enough for me. Visit their web site by clicking here.
Not being particularly mechanically inclined, I solicited help from some of my Registry friends. I've found that, if you offer beer, you can get a lot of help.
As you may know, I'm blessed with a lift in my garage (see the full story by clicking HERE) so we spent an hour moving the lift out of the garage onto the driveway.
Normally the garage looks like this:
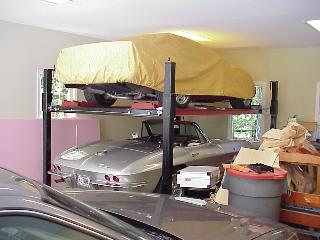 |
That's the '90 Roadster on the top and the '64 Roadster beneath. The C5 usually sits behind the lift... |
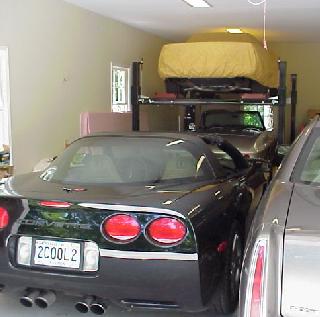 |
...like this...Those are Corsa tips (now sold to Registry member Bruce Still, thank you) on the C5 at this moment. |
How is this possible? My lift has auxiliary wheels you can clamp on and roll the whole thing around! No kidding. Very cool. If you're interested in the the lift and how I got it and installed it click HERE
Here are the steps:
- Back out the C5 and Gael's Cadillac
- Back out the '64 (problematic because the battery happened to be dead (again) so we had to push it out).
- Lower the lift and back the '90 out
- Attach the wheels to the lift and roll the lift out into the driveway
- Remove the wheels from the lift
- Raise the lift about five feet
- Drive the '90 and (push) the '64 thru the lift and back into the garage
- Lower the lift
- Drive the C5 onto the lift and raise it to the top
And here it is:
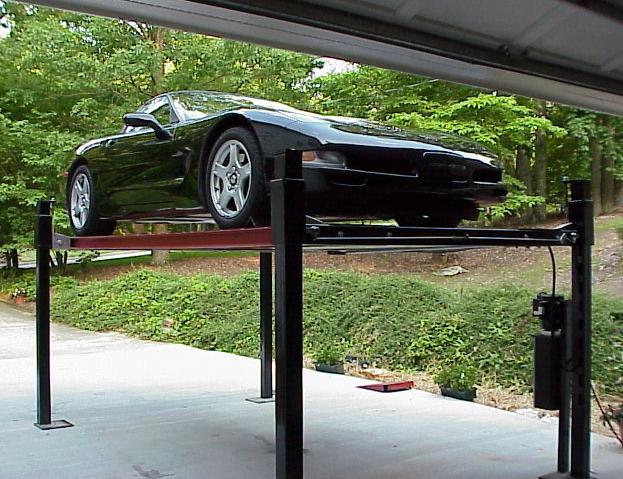
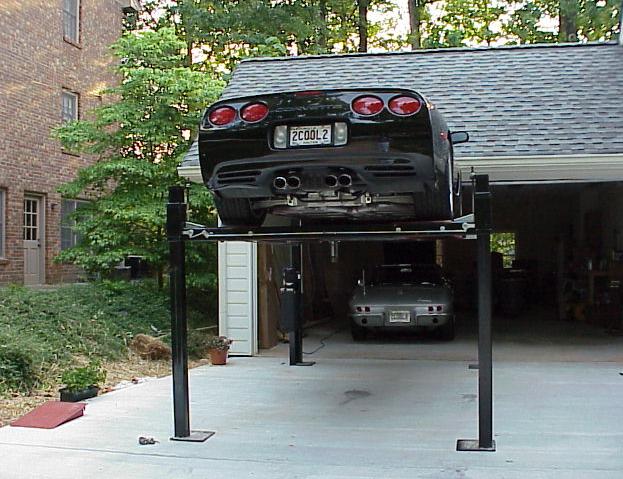
Whew! Now we're (finally) ready to remove the stock exhaust.
- We're going to remove the mounting hardware for the rear anti-sway bar.
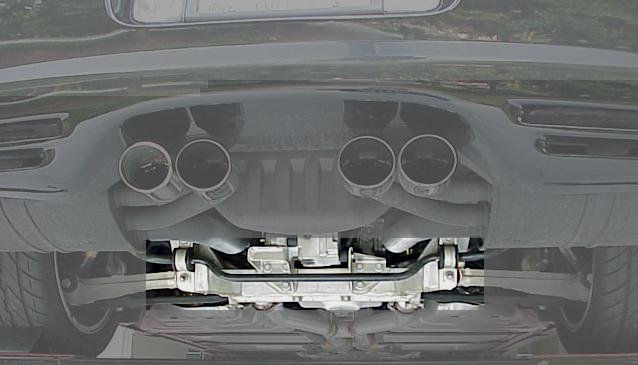
Remove the two bolts and two nuts mounting the rear anti-sway bar. The top two bolts are threaded into the aluminum bracket; the bottom two nuts come off bolts that come through from behind the bracket. You can leave those bolts in, just remove the nuts. You'll need an 18mm socket for these (a deep socket for the bottom nuts).
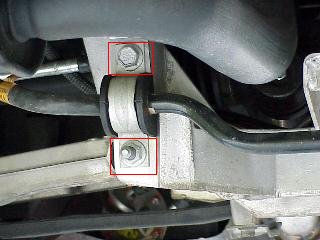
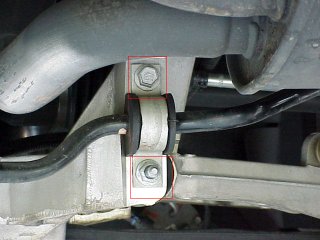
When free, the anti-sway bar rotates down and out of the way. Y'gotta do this in order to get the stock exhaust out.
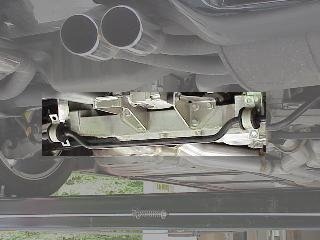
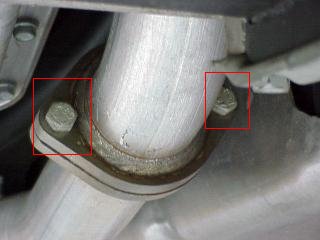
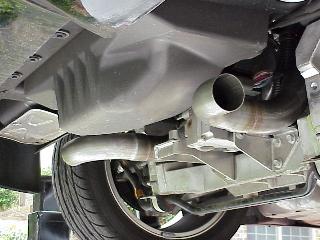
- Use a 15mm socket to remove the two bolts holding the right-side exhaust to the flange of the H-pipe; save the gasket in case you ever re-mount or sell your stock exhaust (the Corsa system comes with new ones).
- Remove the four nuts holding the muffler hanger at the rear edge of the car (you'll need a 10mm socket and a 6" extension). When they come loose you'll be catching the weight of the mufflers so be careful. Be sure to retain the rubber muffler hangers which you'll find slipped onto a tab on each of the stock mufflers; you'll need them again.
- Carefully remove the right-side exhaust (muffler and tail-pipes). You'll have to wiggle the assembly around to get it out but it comes out pretty easily.
- Repeat steps 11 - 13 for the left-side exhaust.
We're half-way there!
- Unpack the Corsa system. It comes very well packed in two boxes:
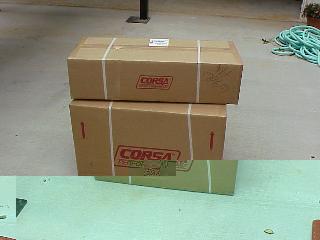
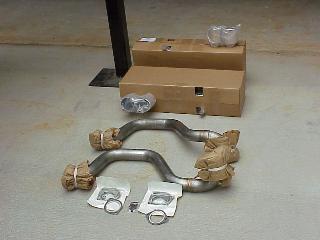
Since the Corsa system is in four pieces (compared to the stock exhaust's two), installing the new stuff is much easier than taking out the old!
- Attach the pipe extensions to the H-pipe. Corsa thoughtfully provides new gaskets... This is really easy to do since the mufflers aren't attached!
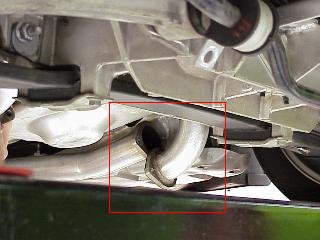
- Here both pipes are installed ready to receive the mufflers.
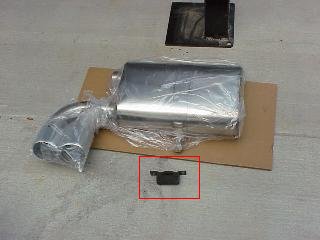
Here's how the 100% stainless steel Corsa exhaust comes packaged. Not only is each muffler enclosed in plastic, the welded-on tips each have additional plastic covering them to avoid damage. Notice the muffler hanger retained from the stock muffler.
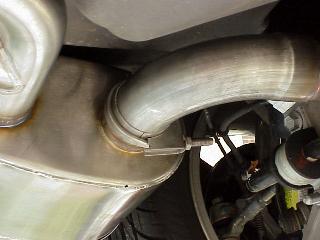
- Apply the anti-seize compound to the threads of the U-bolts being careful not to get any of the compound on the mufflers (they're stainless steel but this stuff can stain them regardless!) and slide the two stainless U-bolts over the extension pipe.
- Slide the muffler hangers on the tabs on each muffler, place the muffler in place mating the muffler pipe to the extension pipe and replace the two nuts holding each of the muffler hangers to the body.
- The U-bolts are the only adjustable fittings to level up the exhaust so you need to be sure the tips are level before locking them down. Get the tips aligned like you want 'em and tighten down the U-bolts (you'll need a 9/16" deep socket). Turn the U-bolt so that the two nuts point toward the front of the car.
- Finally, swing the anti-sway bar back into place and fasten it down. One caution: Be sure to insert the top bolts with your fingers until they are well on their way to being seated. It's easy (using a wrench from the beginning) to cross-thread the bolt into the aluminum bracket.
-
Note: According to the C5 service manual, the bolts should be torqued as follows:
Upper anti-sway bar bolts: 49 ft/lbs Lower anti-sway bar nuts: 70 ft/lbs Muffler hanger nuts: 12 ft/lbs
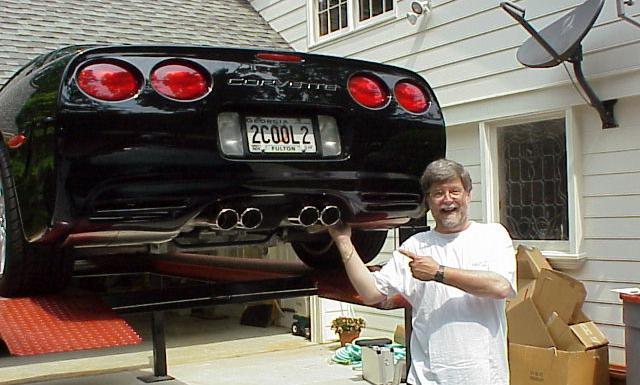
It's done!
Elapsed time: 45 minutes
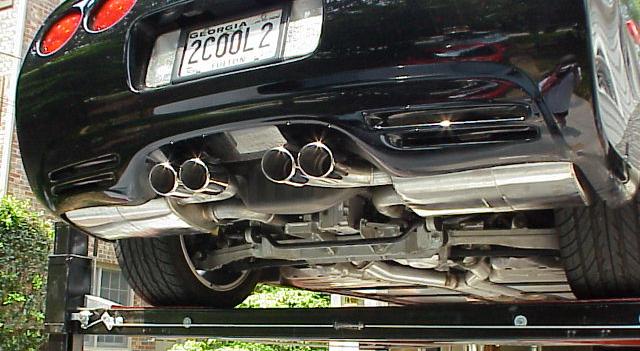
And this is one happy boy!
Here's Bob Hardt and his son Chad.
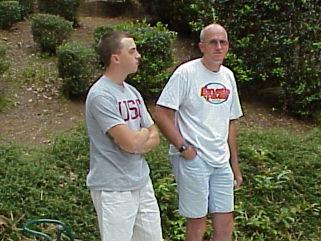
Bob, along with Don Danysh (who, for some reason, failed to show up in pixels) did all the work. Thanks, guys!
Back to my main Corsa page